Making nearly perfect wheat bread with minimal effort and skills required #26/76
Recipe – for making wheat bread effortlessly
Timestamps: 00:00 Intro – making bread in any kind of Dutch oven 02:15 Initial mixing the ingredients 04:42 Methods for final mixing or kneading of the dough 06:25 Autolyze and pre-proofing of dough 07:03 Stretch and fold phase 08:52 How to prepare banneton for dough proofing 10:00 Pre-shaping of dough 13:00 Coating of dough skin and final proofing in banneton 14:20 Baking the bread in the Dutch oven (my wok) 16:00 Browning the bread in the oven 17:26 Cooling of baked bread 18:14 Ending – cutting and storing bread
Time: Work accumulated 19 minutes of work spread over about 4 to 6 hours not including another 3 hours for cooling of the baked bread.
Ingredients: (for 685 grams of dough)
- 370 grams of baking grade wheat flour
- 30 grams of whole rye flour
- 270 grams of water
- 5 grams of vinegar
- 7 grams of salt
- 3 grams of dry yeast if proofed overnight in refrigerator and 6 grams if bread made same day. 4X the amount of yeast if using fresh yeast
- Maize grits can be used for coating the surface of the pre-shaped dough before it goes into the proofing basket (banneton) for final proofing. Alternatively use rice flour or wheat flour or rye flour
Instructions:
- Initial mix of ingredients – 2 minutes work: Mix water, salt, vinegar and yeast. When yeast and salt are fully dissolved mix in the wheat and rye flour using the end of a large cooking spoon. Alternatively use your hands.
- Final mix of ingredients – 1 minute work: Use a stand mixer to knead the dough for 5 to 8 minutes or until the dough slips from the sides of the mixer bowl. Alternatively, kneed the dough with your hands for 5 minutes. This process is needed for mixing the ingredients and also to build strength in the dough for better oven spring and a more delicious crumb.
- Autolyze and pre-proofing of dough – 0 work; duration 1 to 2 hours: Autolyze is a fancy word for the chemical reactions that happens automatically when water is mixed with flour. These reactions form gluten proteins in the dough that give the dough the strength it needs for a good proofing and expansion of the dough. Normally only water and flour is mixed to start the autolyze and the remaining ingredients (salt, yeast and vinegar) are added an hour later. However, this recipe is aiming to make it simple and easy so I mix everything from the get go. Let the dough autolyze and proof for 1 to 2 hours at room temperature if plan is to make bread same day as it is for this recipe. Alternatively, the bread dough can be mixed at night and set aside in the refrigerator over night to be finished and baked the next day.
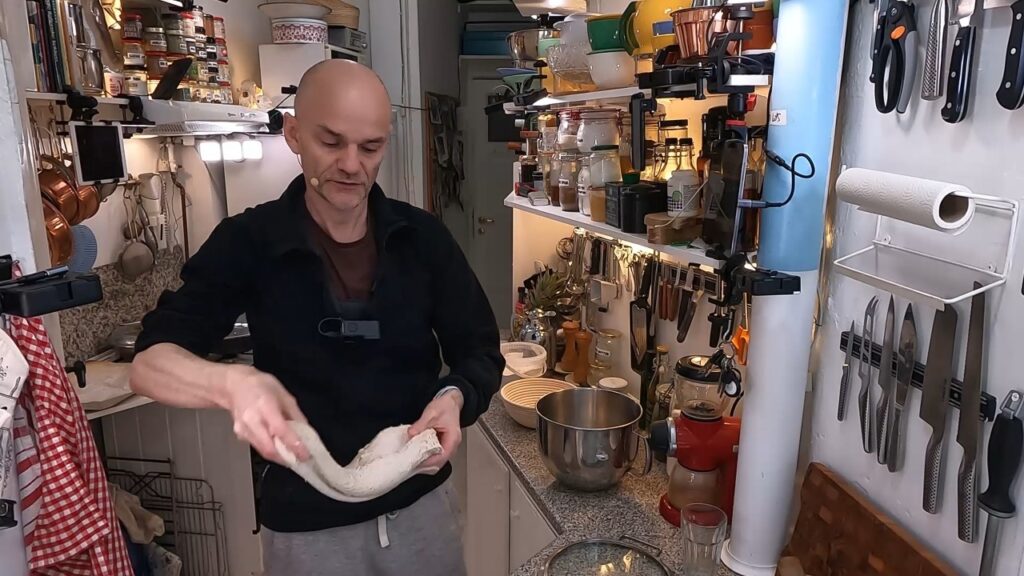
- Stretch and fold phase – 5 minutes work; duration 1 to 2 hours: Next start to build more strength in the dough for better oven spring and a more delicious crumb by doing so called stretch and fold on the bread dough where you first stretch it out with your hands and then fold it in over itself. Turn the bread in your hands and stretch it again for another fold. Do it a third time and let the bread dough rest for 15 to 25 minutes before you repeat the stretch and fold process. I normally repeat the stretch and fold process 3 times with 20 minutes in between.
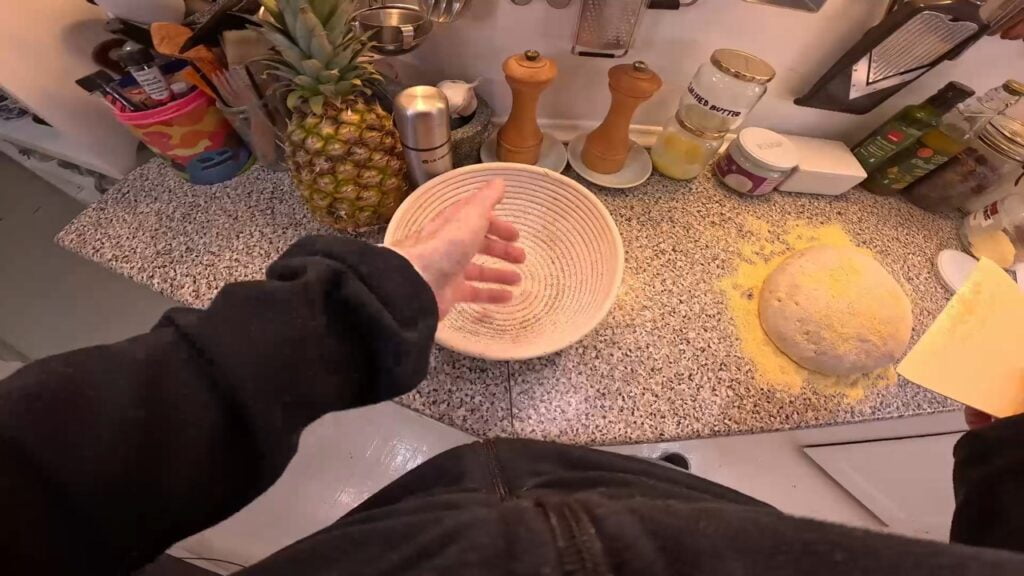
- Pre-shaping and coating of dough – 2 minutes work: After the dough has been stretched and folded for the last time and also rested for 20 minutes take the dough out on your kitchen table. You should use a soft plastic scraper to gently get the dough out of the mixing bowl in order to preserve the air that has built up in the dough at this time. Use a stainless-steel bread dough scraper and cutter to pre-shape the bread by stretching the dough in under itself pushing the steel scraper in under the dough. For dough not to stick to steel scraper wet it with water and draw it quickly out from under the dough as shown in video. During the pre-shaping process bobbles on the dough will appear and they should be punctuated using a needle or by squishing them with your fingers. When the dough has the right shape and tension on the top surface coat the surface with maize grits or a flour of your likings. This coating is needed for the bread to form a crispy crust during the baking but also makes the dough easier to handle (less sticky) and decrease likelihood your dough will end up sticking to the proofing banneton.
- Final proofing in banneton – 1 minute work; duration 0.75 to 1.5 hours: Before moving the pre-shaped and coated bread dough to the banneton let it rest on kitchen table for 8 to 10 minutes. This is needed or the dough will crack up when proofing in the banneton. After the dough is rested turn it around on the kitchen table and coat the bottom of the bread as well with maize grits. Next lift dough up using both your hands and drop it down in the banneton in a quick move. This is more difficult than it sounds because the dough at this point is quite soft. It is very important that the top of the bread dough that you build up surface tension on during pre-shape is also the side that face the bottom of the banneton. Cover banneton with kitchen towel or glass lid for better visibility so you can monitor it. Let the bread proof in the banneton until it fills it out. This may take from 45 minutes to 90 minutes depending on the temperature in your kitchen and how much yeast you used. So now is also a good time to start oven for it to be ready and hot when the dough is finished proofing in the banneton.
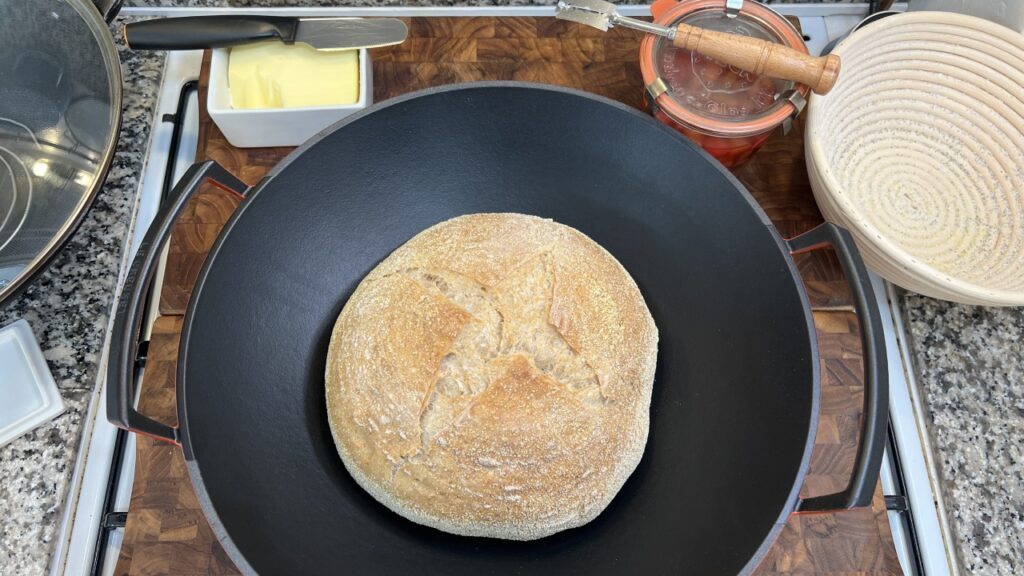
- Baking bread in the oven – 3 minutes work; duration 0.75 hours: When the bread is fully proofed in the banneton it should be baked in a big pot (Dutch oven) or wok or whatever you have that can contain the water steam from the bread when it bakes so that it is soft on the skin and can expand unrestricted. That container should be pre-heated in the oven as well. The bread should bake inside the Dutch oven at 275 degrees Celsius or 527 degrees Fahrenheit for 20 minutes after which the Duch oven is taken out of the oven and the bread is baked for another 20 minutes at 240 degrees Celsius or 464 degrees Fahrenheit. The latter bake is for browning and crust building of the bread.
- Cooling of bread – 0 minutes; duration 3 hours: When bread is baked let it cool on an oven rack for 2 to 3 hours before you cut it.
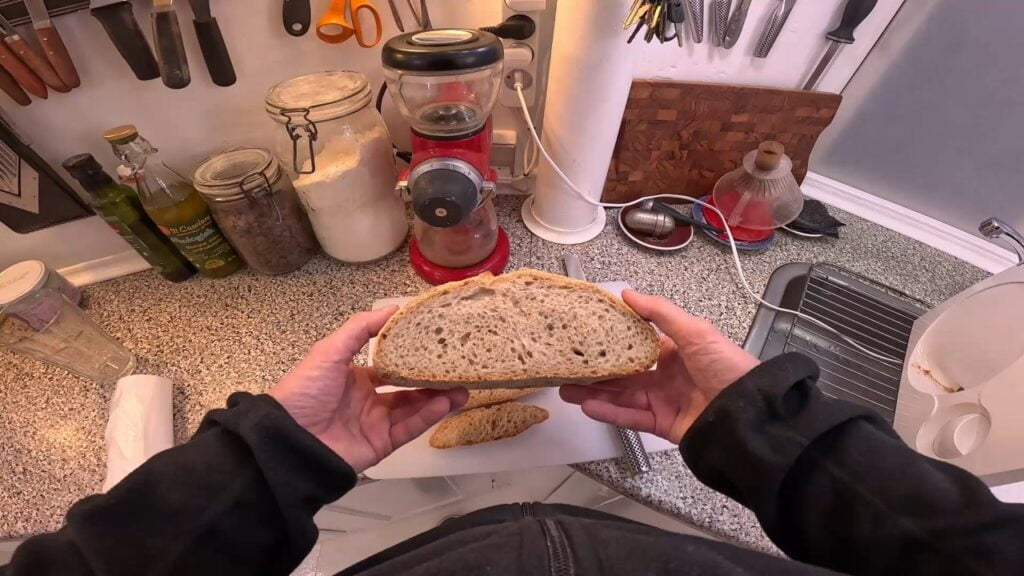
- Cutting and storing bread – 2 minutes: I always cut all of my bread in slices that are right for fitting the toaster and then I bag it in plastic bags. IMO bread tastes the best, by far, the same day it is baked so what is not going to be consumed the same day I deep freeze to keep it fresh for much longer. The best way IMO to unfreeze the bread is to drop the frozen slices directly in a bread toaster and let the roasted bread slices cool before applying butter.
- Cleaning banneton, kitchen table, mixer bowl and scrapers – 3 minutes: Banneton is cleaned using a dry stiff brush to get the flour off. Do not use water. Simply dust it of with the stiff dry brush.
Important observations:
Hydration: In my recipe the amount of water to flour or hydration percentage can be calculated as 69% = (270+5)/370+30)). It is important to observe that this level of water content is what I have found out works well with the flour I use. Your flour will almost certainly be different than mine and will therefore require that you use a little more or a little less water for your bread to be as good as possible for the process you follow.
Perfect bread making is really hard: Normally you should aim to increase the water content as high as possible but the backside of this is that the dough gets stickier and more floating and therefore far more difficult to handle. A more skilled baker than I am is able to get the hydration percentage further up and still build the needed dough strength using various dough handling techniques. There are numerous of videos on YouTube that demonstrate very high skill levels of bread making. To be sure, it looks a lot easier than it is. It is surprisingly hard to master making the perfect bread. I have tried a couple of times and failed because I don’t have the time it takes to learn how to become a master bread baker. There is a reason that making craftsman’s bread is a profession. It is because it is difficult. My philosophy is that everyday bread that is 90% as good as perfect is something I can easily do myself using the above recipe. However, when I have guests and want the very best, I go to a craftsman’s bakery and pay almost 10 USD for a wonderfully made bread. That is like 10 to 20 times more than the cost of the ingredients in this recipe but I also spend time doing it although not much and it smells lovely when you bake at home so there is that as well. Making a bread is like meditation for me.
Every oven is unique: It is highly likely you will have a different oven than I have and also different options for a Dutch oven substitute like a wok or a big pot or frying pan with a high lid. All of that will affect how the bread is baked and browned and you will have to make adjustments to the typical process to get the best possible bread out of your oven. It is standard to bake a bread in a preheated oven inside a preheated Dutch oven with lid for 20 minutes at 275 degrees Celsius or 527 degrees Fahrenheit after which the Duch oven is taken out of the oven and the bread is baked/browned for another 20 minutes at 240 degrees Celsius or 464 degrees Fahrenheit. However, you will have to make adjustments to that for best results.
Serving suggestions:
Bread and butter are a nice classic. Sliced bread can also be served together with most salads and stews. However, I recommend roasted rye bread for that, see video link below. Also, rhubarb compote with roasted bread and butter is delicious, see video link below.
For making Scandinavian Rye Bread – Christmas edition #8/42 | HMexperience.dk
For making Vanilla rhubarb compote – a delicious springtime treat #25/75 | HMexperience.dk
——————————————————-


Find me:
HM Vlog: https://www.hmexperience.dk/
YouTube: https://www.youtube.com/@hmexperience (My primary YT channel)
YouTube: https://www.youtube.com/@HMexperience-ProHomeCooking (My cooking YT channel)
Twitter: https://twitter.com/HMexperienceDK
LinkedIn: https://www.linkedin.com/in/hmphd/
——-
Your opinion or constructive criticism is much appreciated. I read all the comments, so it is a good way to communicate directly with me.
Thank you very much.
